While you may not give them much thought, garage door safety sensors play an important role in keeping you and your family safe. That’s why it’s important to understand their function and ensure they’re working properly. In this blog, we’ll explore what garage door sensors are, how they work, and what you can do if they’re malfunctioning.
A Brief History of Garage Door Sensors
The first electric garage door opener was invented by C.G. Johnson in 1926, but they weren’t widely used until after World War II. In the post-war years, Era Meter Company of Chicago began manufacturing electric openers that were operated by an outside keypad or a switch inside the garage.
In January 1993, the U.S. government passed legislation mandating that electric garage door openers installed after that date had to include safety sensors. Since then, every electric garage door opener has built-in sensors that prevent the door from closing if there are any obstructions in its path. This prevents damage to cars or other property and injuries or deaths of people and animals.
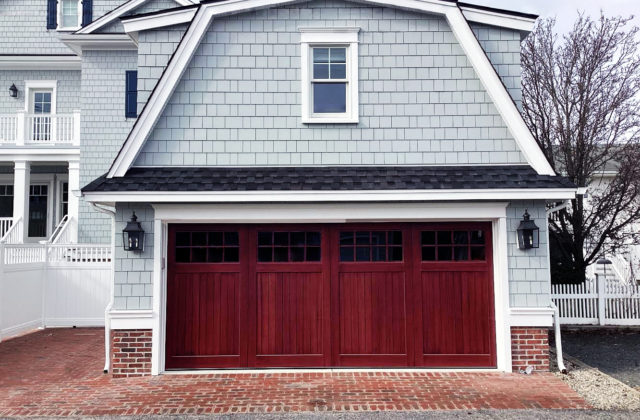
What Do Garage Door Safety Sensors Look Like?
Garage door sensors are small, black boxes located a few inches from the floor on both sides of the garage door. Both sensors typically have indicator lights. One has a green light to indicate that the units are turned on. The other has a red light that confirms there are no obstructions between the sensors and that they can “see” each other.
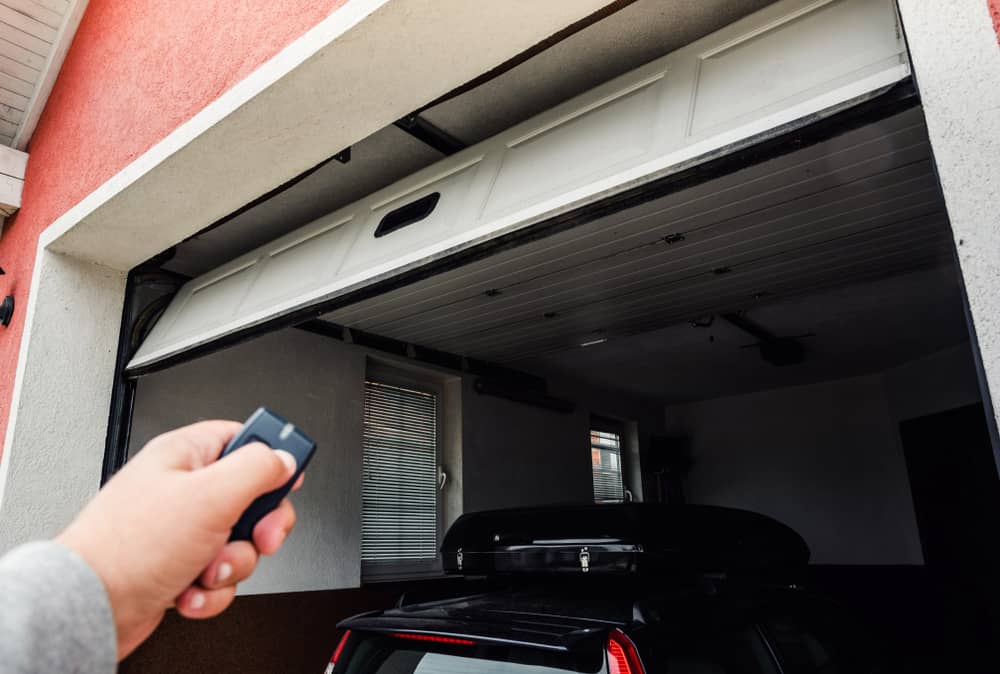
How Do Garage Door Sensors Work?
Wondering how garage safety sensors work? Put simply, they transform electricity into an infrared beam of light to create an invisible tripwire. One sensor is referred to as the sending unit, and the other is called the receiving unit. Because they’re close to the ground, the sensors can detect small children, pets, tires, etc. When the sensors detect an obstruction, the door automatically stops closing and reverses direction.
Troubleshooting Garage Door Sensors
If you’re experiencing issues with your garage door fully closing, your safety sensors may be to blame. Here are two easy ways to determine if your sensors are malfunctioning:
- The door starts to close, but then stops and reverses, even though there are no obstructions in its path.
- The door closes the whole way, despite there being an obstruction in its path.
There are three main reasons why garage door safety sensors malfunction: dirty lenses, misalignment, and pinched wires. We’ll take a closer look at each one and how you can remedy them below.
Dirty Lenses
Like a camera lens, the safety sensor’s photo eye is made of glass. They’re very small and can easily get dirty over time. To clean it, simply use a soft cloth and mild cleaner that won’t leave streaks. Removing dirt and residue from the surface of the photo eye can be an easy fix for sensor problems.
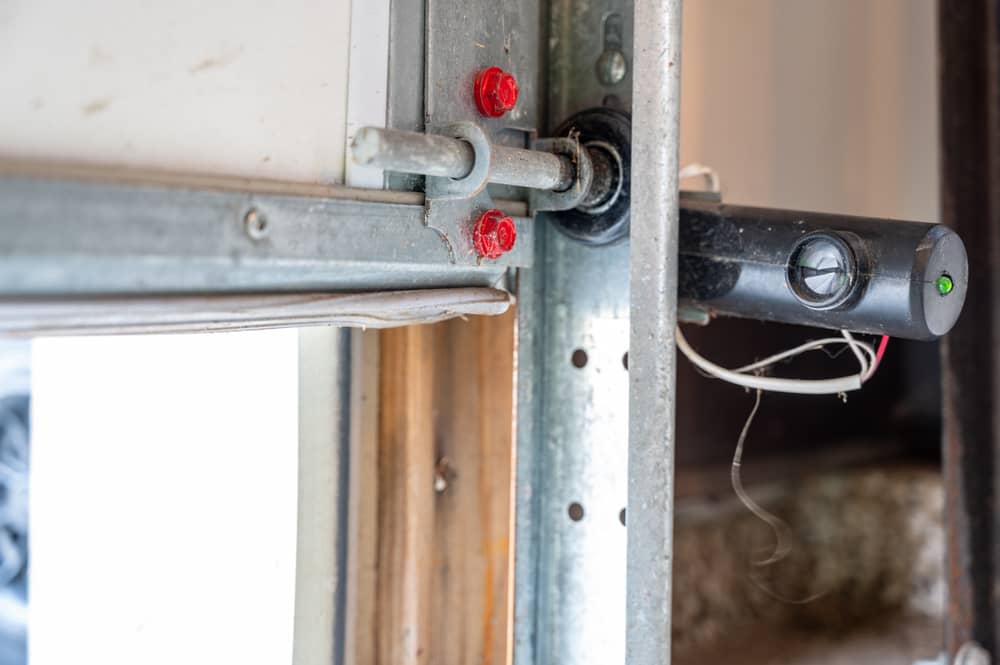
Misalignment
Due to their low position, it’s easy for sensors to become misaligned. If one or both of the sensors show blinking lights, it means they’re out of alignment. Simply use a screwdriver to tighten the screws on the bracket or bend the bracket back into place. Once the photo eyes are realigned, the blinking will stop.
Pinched Wires
In some cases, your sensors may have pinched wires that drop their voltage, leading to inconsistent operation. To remedy the problem, you’ll need to completely replace the entire system or contact a professional. You may want to disable your electric opener until repairs are made to avoid injury or property damage.
If your garage door still won’t close, it could be from other issues other than the sensor. To explore what else might be causing your garage door not to close, read our blog on “why won’t my garage door close?”
Testing Garage Door Safety Sensors
Once you’ve fixed malfunctioning garage door sensors, you’ll want to test them to make sure they’re working properly. The easiest way to do this is with a few cardboard boxes that are higher than your sensors. If you’re not sure how to test garage door sensors, follow the steps below:
- Place a box in the garage opening directly between the sensors and attempt to close the door. It should immediately stop closing and return to a fully open position. If it doesn’t, proceed to the next step.
- If one of the sensors is blinking, realign it. See “Misalignment” in the previous section for more information.
- Attempt to close the door again using another cardboard box. If the sensors don’t pick up on the obstruction and crush the box, proceed to the next step.
- Clean the photo eyes with a mild cleaner and soft cloth. See “Dirty Lenses” in the previous section for more information.
- Attempt to close the door again using another cardboard box. If the sensors don’t pick up on the obstruction and crush the box, proceed to the next step.
- Inspect the sensor wires to determine whether they’re broken or damaged in some way. The sensors may also have shorted due to moisture. Regardless, they’ll need to be completely replaced.