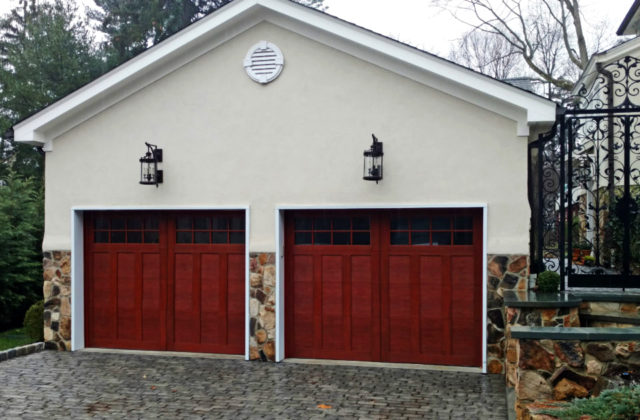
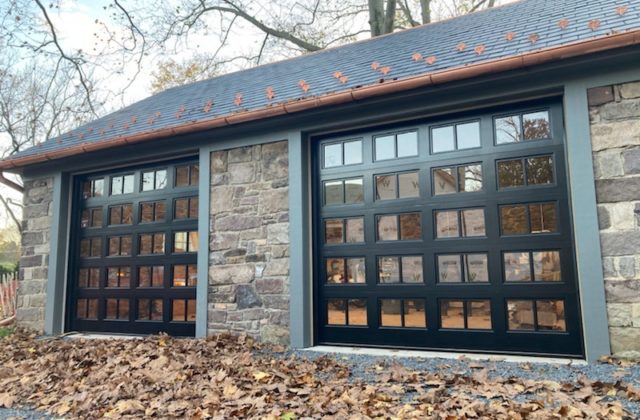
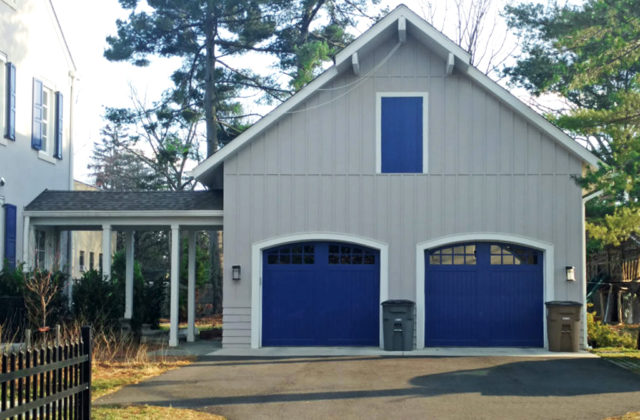
When you purchase a new garage door from Artisan, you have the choice of having your custom designed door delivered to you unfinished, primed, stained, or painted, based on the style of garage door you choose. If you choose to take on the job of a DIY garage door finish for your new door, here are a few tips that will help you do the job right!
Stain-grade or Paint-grade Garage Doors?
The answer to this question impacts the color options for your door, the finish options and materials, as well as the cost of your doors. Before you order your custom garage doors, you should know the type of finish you’ll apply, either stain or paint.
A paint-grade door uses materials suitable only for paint finishes – not for stains. It’s important to note that a stain-grade door uses woods that will look beautiful when stained, but stain-grade doors can also be painted. A stain-grade door provides the most finishing options if you are undecided.
Choosing A Finish Color
To maintain the warranty of your grade door, you need to make specific choices when selecting the paint you use for DIY garage door finish project.
The sun exposure of a door is a critical component of your color selection process. The stronger the sun, the longer it heats your door every day, sometimes raising the temperature of the door to over 120° F. When you select dark paint or dark stain colors, the temperature of the door gets higher during the day. This can cause a greater risk of the paint color fading and the wood surface splitting or cracking. Any door material will expand and contract when it goes through extreme temperature ranges, potentially allowing interior construction materials to show. Finish colors are a significant factor in your doors performance.
Paint colors are measured with a value known as LRV (Light Reflectance Value). LRVs are specific to each color and indicate of how much light the color reflects. Artisan recommends selecting an exterior grade latex paint with an LRV (Light Reflective Value) that is appropriate for the specific door type and materials selected AND the sun exposure the doors face.
Dark colors generally have an LRV that are 40 or less, which means they absorb more light and therefore can heat up more Light colors usually have an LRV that are 60 and up. A higher LRV (larger number) reduces the heat build-up in the door, reduces fading, and reduces issues with normal wood performance.
Stain colors do not currently have a measurement system in place to provides any indication of heat reflectance or absorption. A good rule of thumb is that darker colors get hotter than lighter colors. Always consider the direction of the sun exposure on your doors when selecting a paint or stain color.
Storing Your Garage Door for Finishing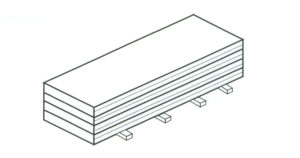
You’ll need to finish and install your garage doors within two weeks of delivery to prevent warping. For short-term storage of your door sections, follow the rules below.
- Store your doors off the ground.
- Support them every 2-3 feet.
- Cover your doors to protect from the elements.
- Do not store your doors on their edges.
Preparing Your Work Area
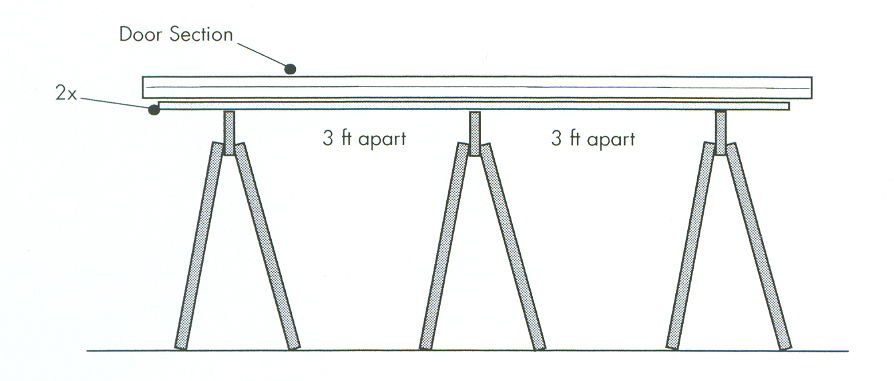
When applying your paint or stain, place a door section across several saw horses, with adequate support to prevent sagging or warping. We recommend using a 2 x 4 across the saw horses, under your door segment.
Applying Your DIY Paint Finish
We strongly recommend that you finish the each section of your door on all six sides in order to keep out any moisture. This will also maintain the warranty on your door. If your door has not already been primed, apply two coats of a high-quality primer before applying your custom paint finish.
Complete your door finish with two coats of your selected color paint, again covering all six sides of each section. Always follow the manufacturer’s instructions for application.
Applying Your DIY Stain Finish
Again it is strongly recommended that you finish each section of your door on all six sides in order to keep out any moisture. This will also maintain the warranty on your door.
After selecting a stain color of your choice, follow the manufacturer’s directions for application for both stain and any manufacturer’s recommendation on a protective top coat.
