Deciding to purchase a new garage door can enhance your home but can also become a costly investment if not properly taken care of. No garage door is entirely maintenance-free, but by following our simple garage maintenance checklist, you won’t have to spend your entire weekend, or financial savings, on these projects!
Signs to Look Out For
Before we get into the checklist, it’s important to point out some indicators that it may be time to perform a maintenance check. These signs are completely normal and can be resolved with some relatively easy fixes.
- Slow Response Time. It’s taking more than a few seconds for your garage door to open or close.
- Excessive Noise. As your garage door is opening or closing, you notice it’s noisier than usual. Remember, garage doors will make some noise no matter what.
- Sagging. Your garage door naturally falls close when it is open. You can test your door by opening it halfway and see if it stays in place or falls at all.
- Increased Energy Bills. Seeing an increase in monthly energy bills could mean your garage door doesn’t properly seal or needs better insulation.
- Excessive Shaking. As you are operating your garage door, there is a noticeable shake, which could indicate a loose screw or broken track.
Why Put in the Time?
Initially, it may seem like a hassle to thoroughly check areas of your garage door. However, the more effort you put into maintaining your garage door, the longer it will last. Putting time into routine garage door maintenance will:
- Prevent damage caused by foreign matter.
- Reduce wear and friction on garage door hardware.
- Restore the look of the factory-applied finish by removing dirt and chalking.
- Assess door surface finish for deterioration.
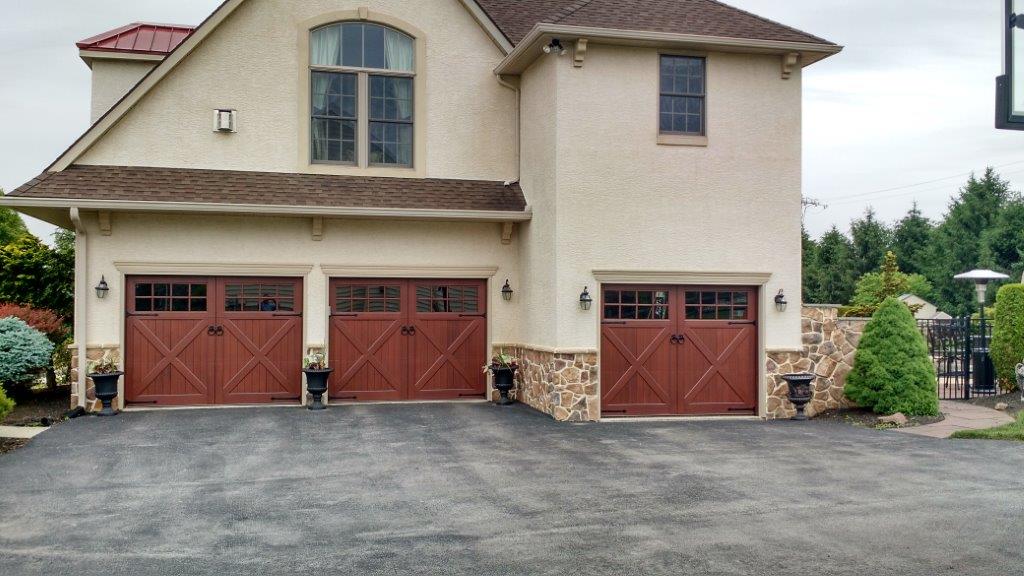
A lot of maintenance and repairs can be completed by you, but sometimes it may be necessary to bring in a professional to do the job. It’s important to note what should be done by a professional so the problem can be fixed properly and not cause more damage to your garage door, or yourself.
Where to Inspect
To combat a lot of the common wear and tear issues for your garage door, we recommend completing small maintenance checks each season. This will ultimately expand your door’s life and hopefully allow you to catch any real damage before it becomes a costly repair.
Below, we’ve outlined the most common garage door areas where maintenance checks are most useful.
Garage Door Track Hardware
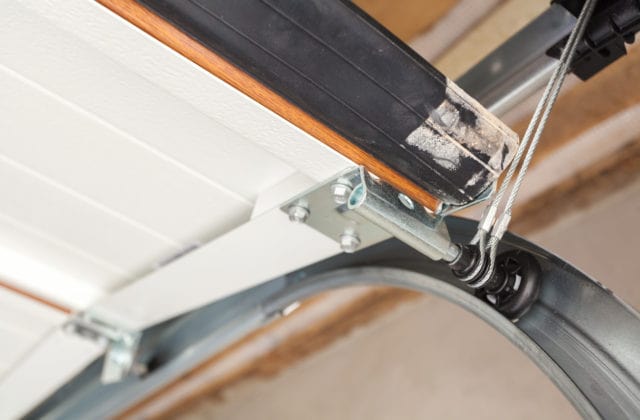
For your overhead door track, yearly maintenance and lubrication are key to avoiding friction and wear on the metal components. First, you should clean the door track to remove oil, dirt, and grease. This will ensure a smoother operation of your door.
Then, use a lightweight household oil, 30W or lighter, to lubricate all moving parts of the garage door track including
- Locking hardware moving parts where the lock turns or slides
- Track steel rollers and roller stems, do not lubricate nylon rollers
- The full length of the torsion spring and torsion tube
- Lift cables at the bottom bracket
- All hinge pivot points
Once that’s complete, wipe off excess oil. Finally, make sure to inspect all hinges, struts, handles, locks, and brackets for loose fasteners. Tighten any loose fasteners but be careful not to over-tighten as this could strip the threads and create bigger problems.
Garage Door Opening
Your garage door’s weather stripping plays an important role in keeping moisture and excess cold air out of your garage. Here’s a step-by-step on how to replace your garage door weather stripping.
- Measure the width, height, and thickness of your garage door, just in case you find you’ll need to replace any of the seals.
- With your garage door open, inspect the weather strips on the top, bottom, and both sides of the opening for rips or tears.
- Check all weather strip material for flexibility. As the material stiffens, it is less effective. Close the door and look for gaps in the material.
Mending the weather strips will help keep warm or cool air in your garage so you can comfortably use the space as an additional room in your home. On top of that, high-quality weather stripping will lower your monthly energy bills.
Garage Door Finish
Over time, your garage door’s finish will degrade and experience some fading. With stained and faux paint-stained finishes, the clear protective top coat will deteriorate and thin. If your door faces south or west, it will likely experience this wear and tear faster since it is in more intense sunlight.
As with most maintenance checks, the sooner you notice something and take action, the easier the job will be to keep the finish looking great.
During your annual inspection, look for fading, cracking, peeling, or blistering. Touch your door to determine if it ‘feels’ dry and if it doesn’t you should search for dings, dents, scratches, or gouges that cut through the surface and would allow moisture to penetrate the door.
Clean your door using a mild detergent (dishwashing liquid or biodegradable cleaner) and a soft cloth or brush. You’ll want to start cleaning from the bottom and work your way to the top section. This is also a good opportunity to clean behind the doorstop, weather strips, and any windows you may have.
Once that’s finished, rinse with a garden hose or low-pressure garden sprayer. We recommend never using the following to clean your garage door surface.
- Pressure washer or high-pressure sprayer
- Scouring powders or solvents
- Mixing bleach into your cleaning solution or detergent
Once a thorough cleaning is complete, re-examine for any damaged areas to see if touch-ups or a new top coat are needed.
Making Your Garage Door Energy-Efficient
Other than the fact that increasing your garage’s energy efficiency will help make the space more useable, it will also save you money, increase your home value, and may even make you eligible for tax benefits.
If you notice an increase in your monthly bills, and you’ve replaced your garage door weather stripping, you can do these simple, additional, projects to help ensure your garage door is more energy efficient.
- Seal your floor cracks.
- Add energy-efficient garage lighting.
- Insulate your garage walls.
Garage Door Preventative Maintenance
We’ve outlined the most common areas that will be the first to deteriorate on your garage door. But, that doesn’t mean other aspects of your investment should be overlooked. Ultimately, any improvements you make will help you in the long run.
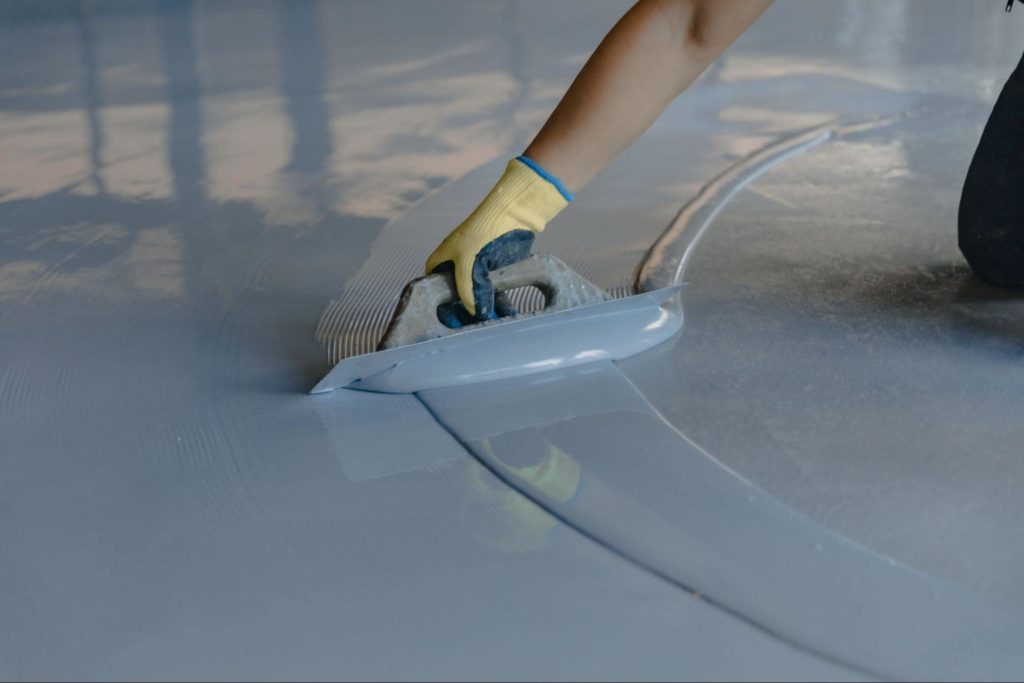
Upgrade Your Flooring
If you are using your garage space as more than a storage area, it would be good to have a durable floor that adds aesthetic appeal to the room. Epoxy paints and coating are the perfect materials to help prevent damage.
Lubricating Your Garage Door
Once you complete this garage maintenance checklist, it’ll be time to take action. One of the pain points is a noisy garage door, which can be fixed by lubricating the tracks. Before jumping into this project, make sure you have tightened every part of the garage and inspected the hinges and rollers.
Tightening Hardware
Decorative hardware can be a beautiful addition to your garage door. Just like all other aspects, the hardware is susceptible to wear and tear as time goes on. Maintaining these pieces can be as simple as inspecting the door and making sure there are no loose fasteners to be tightened.
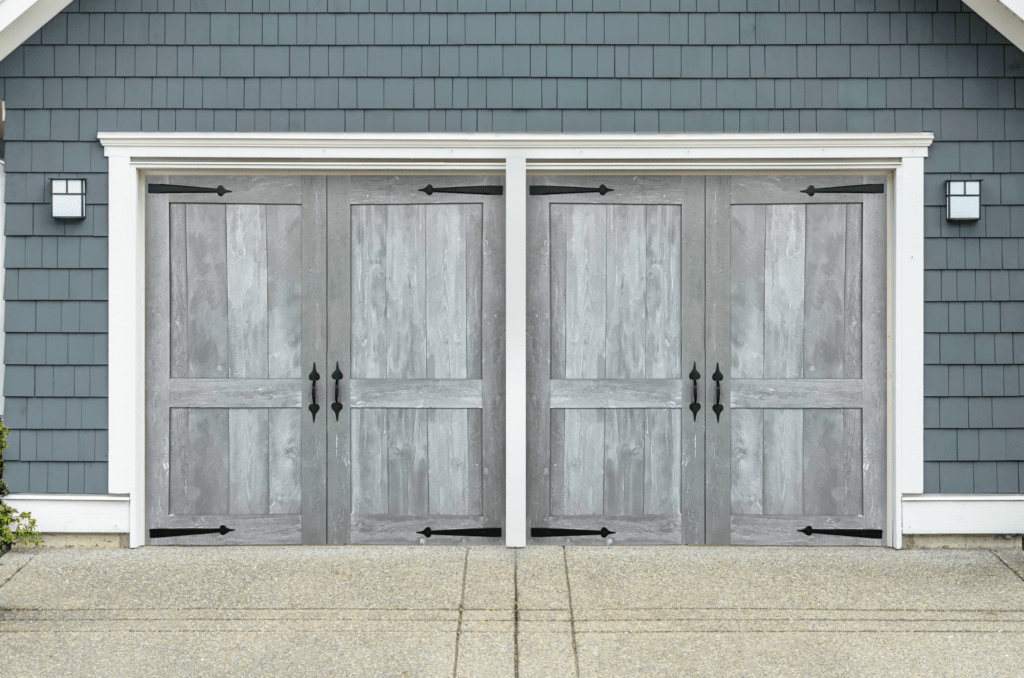
A new garage door can be an exciting and beautiful investment. While Artisan doors are built for durability, naturally your door will need some maintenance from time to time. Following our Garage Door Maintenance Checklist will extend the lifespan of your garage door.
Note: This blog was originally published on February 24th, 2017. Updated on August 17, 2022
